Variations using a Mask in Gel Prints

the stencil


Using my Brother Scan-N-Cut to cut a vinyl sheet, I created a “mask” of leaves to use in printmaking. The leaves were drawn from the Chinese Fire Dance Bush in my back yard, so it’s a unique hand-crafted design.

It’s amazing what different looks you can create with just one mask. (A mask is the positive of a stencil — since this is created on a cutter, I also have the “stencil” or negative mask to use as well.)

The secret, of course, is in the layers — the colors and background stencils chosen. For the the first layer I used various colors and some stencils or marking with a comb to create a print on my gelli plate. The stencils used were purchases from various sources, including StencilGirlProducts.com. (Sometimes there is an additional layer added to refine the design.)

This first layer is what creates the design and colors seen in the leaves in the final print.

For the second or final layer, I again rolled colors onto the gelli plate. I tried to choose colors that would work as a contrast or enhancement to the first layer. Note that I didn’t use any additional stencils in this final layer (except for string as an additional mask).

I placed the mask of leaves on top of the colors and pulled a print. That layer became the background framing around the leaves — the first layer was preserved because the mask blocked the final paint layer.

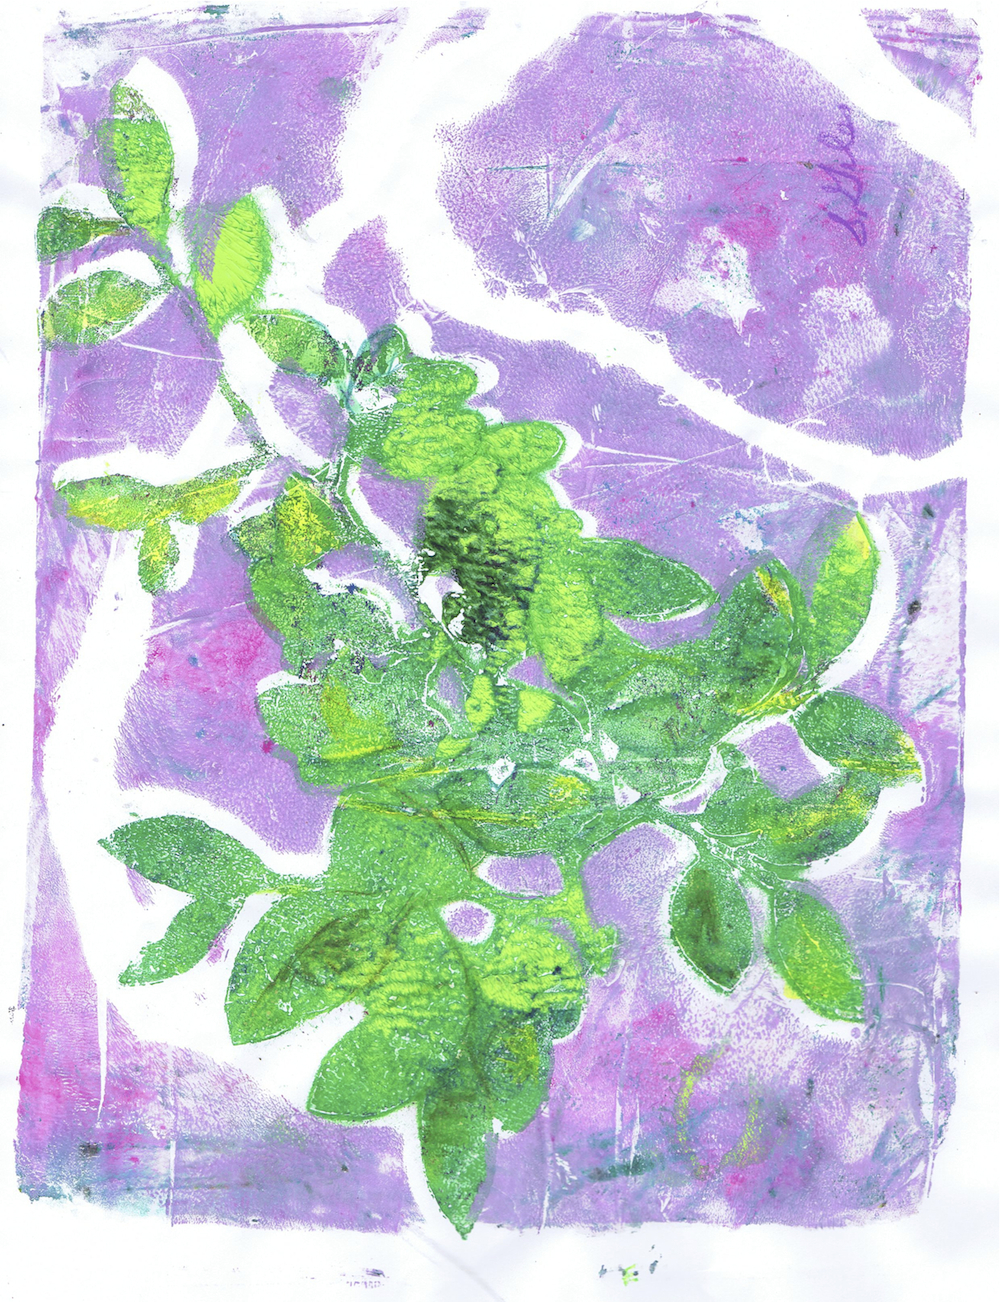
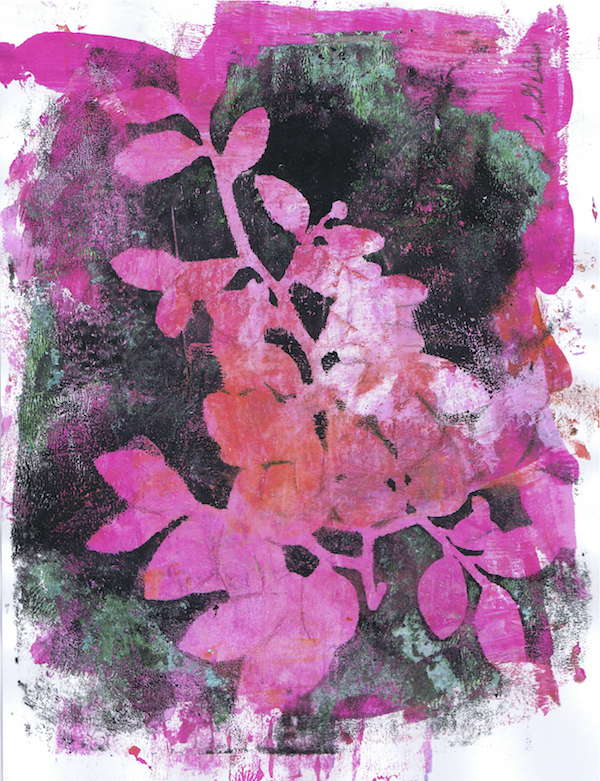
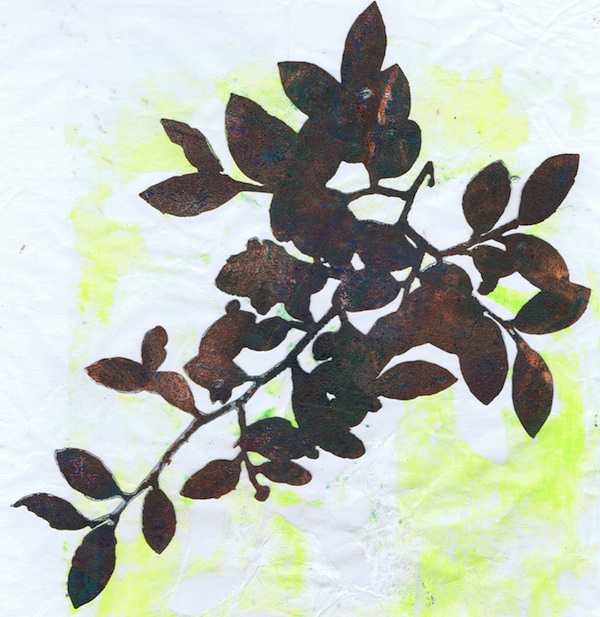
Below are the variations I obtained.


Acrylic printmaking demo & mini-workshop set for Sept. 18

I’ll be doing a demonstration and mini-workshop on Gelli printing for the Farmers Branch – Carrollton Art Association (FBCAA) meeting on September 18, 2018. Guests are welcome for the FREE demo 10:30 – noon. The mini-workshop is $10 and runs from 1-3pm. Location is the Craft Room of the Farmers Branch Senior Center.

To sign up for the workshop, contact Bess Saloman at besstek@yahoo.com.

For more about FBCAA, see their Facebook page: https://www.facebook.com/pg/farmersbranchcarrolltonart

About acrylic printmaking with a gelli plate:

Gelli or gel plates are the permanent silicone version of the old-fashioned and perishable gelatin plate. It’s also possible to make your own permanent gelatin plate and Sharon will explain how to do this.

And best of all, expensive paper and paint are not required to get wonderful results. Plus you already have some of the tools to get started or you can find them around the house or yard.

I will demonstrate the major techniques: mark making, layering, and using stencils, stamps, masks, and found objects. Plus a newly discovered way to use magazine pages as resists.

Gelli prints can be framed or serve as the basis for a painting or mixed media work or just as part of your artistic process. They can also be used as collage in art journals, ATCs, card making, and mixed media.

Workshop: (Limit: 8 students) If interested in reserving a spot, Bess Saloman at besstek@yahoo.com.

Put the fun back into your art! If you’re perfectionistic or have a fear of making a wrong mark or ruining a piece of art paper, gelli printing will definitely remove it. You will make lots of art! And it will be messy, but fun.

Basic supplies and tools will be provided: Acrylic paint, paper, brayer, water container, spray bottle, Gelli plate, stencils, masks, paper towels and other tools. (Sorry, you don’t get to keep the tools, just the results.) Artists will also receive a summary handout on techniques.

You can bring additional supplies if you want to: Stencils, masks, mark-making tools, letter-size or 9×12 paper, and your favorite colors of acrylics in any brand. If you have a gelli plate and brayer, please bring those. Bring an apron or wear grunge clothes.

For information on Gelli Plates, see http://www.gelliarts.com and https://gelpress.com